A very delicious and cheap way to make your fajitas as they are so expensive to buy.
Chicken
Chicken Breasts
Bottle Of Salsa Guacamole
Low Sodium Fahita Spice Mix
Ground Black Pepper To Taste
Chipolte Sauce
A Handfull Of Cilantro Leafs
1.5 Cups Of Sour Cream
3/4 Cups Of Mayonaise
3 Containers Of Chipolte Peppers in Adobo Sauce
2 TBS Of Tajin
Juice OF 1 Lime
2 TBS Of Cumming
Fresh Ground Black Pepper
2 TBS Of Extra Virgin Olive Oil
Veggies
4 Sweet Peppers
1 Large Onion (You can do 2)
Serving
2 Cups Of Sticky Pre Cooked
1 Bottle Of Salsa
1/4 Of A Block Of Cheese Shredded
Instructions
Chicken Prep and Marginations
Cut your chicken down the center than small strips, then small pieces.
Put your chicken in a bowl, then dump the salsa quacamole, then your spice mix, you want to start mixing this really well to combine everything, add your ground black pepper as much as you like, then mix again.
Put this in a container and put in the fridge for a few hours to marinate.
Chipolte Sauce
In a huge blender put in your sour cream, your mayonnaise, your chipolte peppers in adobo sauce, add the tajin, squeeze in the juice of 1 lime, and then your cumming, add some ground black pepper, and then your cilantro, and then the olive oil, and mix this well in your blender until smooth, put this in a container and put in the fridge to rest for a while.
Veggies
Take your veggies and cut them into sticks the way you would want them served
Cooking Time
Cook down the chicken, and then the veggies, you only want them cooked for about 3 minutes, you don’t need them cooked completely down, just a bit to soften them up.
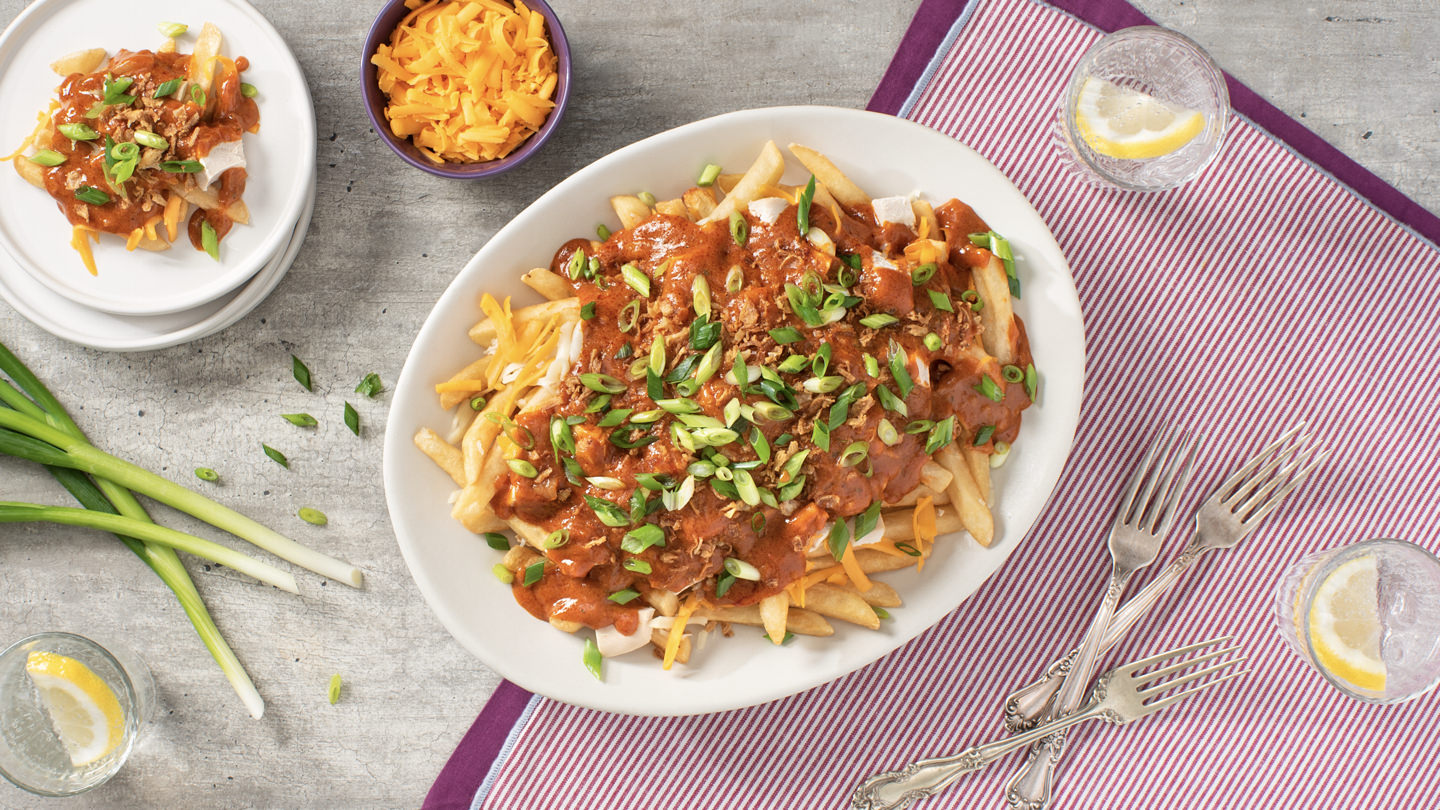
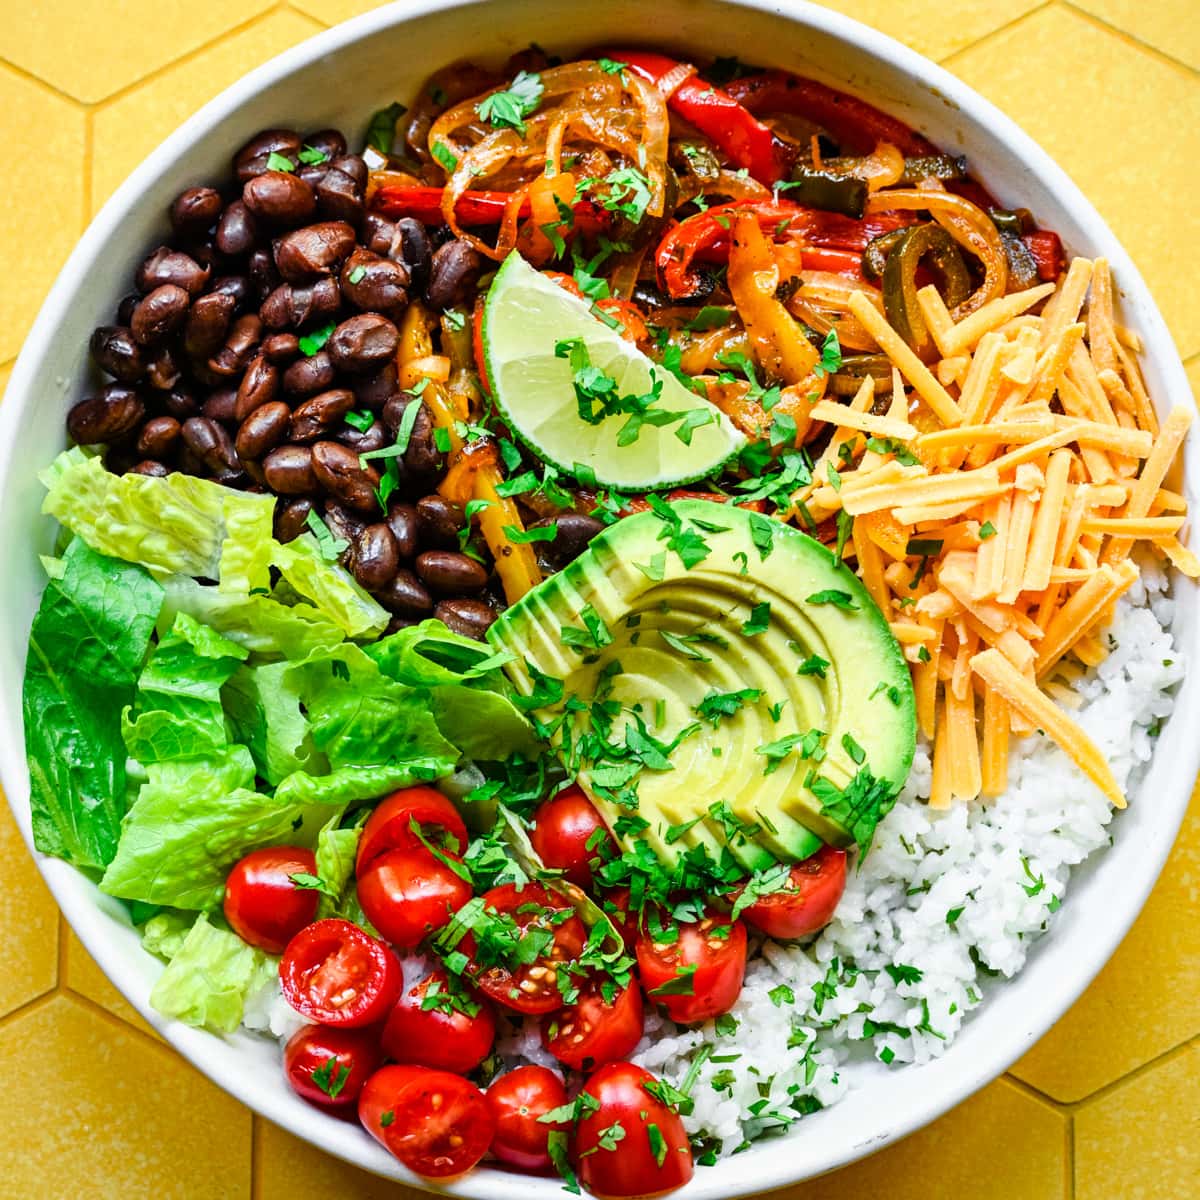
When your done with the cooking, put a few spoonful’s of rice in a bowl, then some chicken and then veggies, then serve with your chipolte sauce and salsa and cheese on the side, and your done.
With the prices being so high for this at any restaurant, its a great idea to make this on your own, and let me tell you it tastes a good, and honestly this is something you can do yourself and make a really impressive meal!